Every spring, without fail, someone walks into my shop pushing a bike that sounds like a bag of angry cats. The chain is orange. The brakes squeal like a haunted house door. The tires are flatter than a pancake that’s been sitting on a griddle for six hours.
“I just want to ride it around the neighborhood,” they say.
Sure you do. And I just want to fix your bike without discovering that your bottom bracket has seized so badly it sounds like someone’s grinding rocks in a blender.
Here’s the truth about spring bikes: pulling one out of winter storage and just hopping on is like starting a car that’s been sitting in a barn for five months without checking the oil. Sometimes it works fine. Sometimes you end up three miles from home with a chain wrapped around your rear derailleur, calling your spouse to come pick you up with the bike sticking out of the trunk like a sad metal flag.
I’ve been a bike mechanic for over twenty five years. I’ve seen every version of the spring disaster. The warped wheels from leaning against a wall all winter. The rusted cables that snap mid-shift. The tires that looked fine until they exploded on a warm afternoon because the rubber had dry rotted from the inside.
Let me walk you through the spring tune-up that prevents this stuff. Not the “quick once-over” that every YouTube video pretends takes five minutes. The real version. The one that takes maybe ninety minutes and saves you a hundred dollar repair bill in April.
The Five-Minute Corpse Check (Before You Waste Your Time)
Before you grab a single tool, do this. Walk around the bike and look at it like you’ve never seen it before. Pretend you’re a detective at a crime scene and the bike is the victim.
Look for cracks in the frame. Especially around the welds, the head tube, and where the seat stays meet the seat tube. If you see a crack, stop everything. That bike goes to a shop. I don’t care if it’s a tiny hairline fracture. A cracked frame is a cracked frame, and a cracked frame means a frame that’s going to crack more when you hit a pothole at twenty miles an hour.
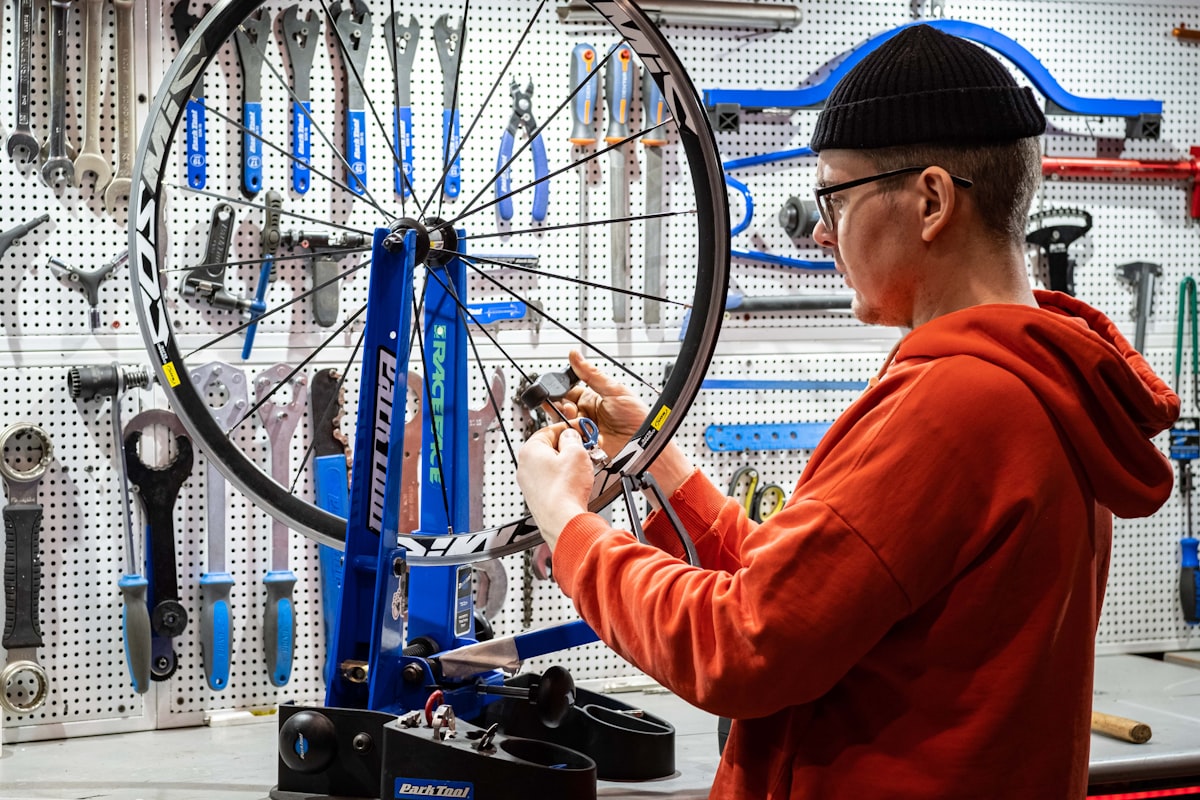
Check if the wheels spin true. Flip the bike upside down or put it in a repair stand. Spin each wheel and watch the gap between the rim and the brake pad (or the frame, on disc brake bikes). If the wheel wobbles side to side like a drunk person trying to walk a straight line, it needs truing. If it wobbles a lot, don’t ride it. A severely untrue wheel can taco on you, which is exactly as fun as it sounds.
Squeeze the tires. If they’re completely flat, that’s normal. Rubber doesn’t hold air forever, especially over a cold winter. But if the tires feel crunchy or the sidewalls have visible cracks running up and down like dried mud on a riverbank, you need new tires. Riding on cracked rubber is asking for a blowout, and blowouts at speed are how people end up with road rash they’ll show their grandkids.
Also make sure your helmet is still in good shape, because if it’s been rattling around the garage all winter, the foam might be compromised even if it looks fine. If everything passes the corpse check, congratulations. Your bike is alive. Now let’s keep it that way.
The Drivetrain (Where Spring Problems Come to Party)
This is where ninety percent of spring issues live. Your chain, cassette, chainrings, derailleurs, and cables all spent the winter sitting still, gathering moisture, and slowly oxidizing. Even if the bike was indoors, humidity does its thing.
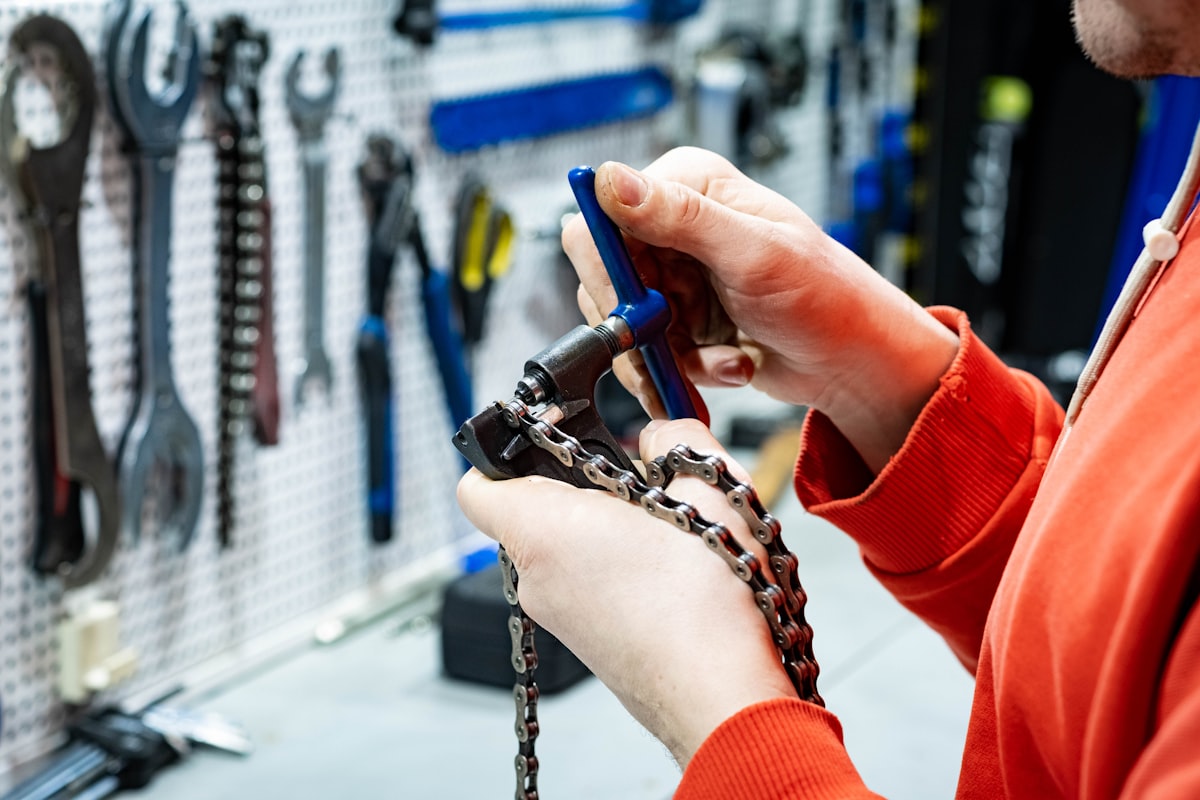
The chain first. Always the chain first.
Grab a rag and wipe down the chain while back-pedaling. If the rag comes away orange or brown, that’s surface rust. Not a death sentence, but it means the chain needs attention. If the rag comes away black and gritty, that’s old lube mixed with road grime that’s been slowly grinding away at your drivetrain all last season and then sitting there all winter like a tiny metal-eating paste.
Here’s what you do. Get a chain wear indicator tool, the Park Tool CC-4 or similar, costs around twelve bucks. Drop it into the chain. If the 0.5% side drops in, your chain is worn and you should replace it soon. If the 0.75% side drops in, replace it now before you wreck your cassette. A new chain costs about as much as a decent lunch. A new cassette costs about as much as a nice dinner for two. Do the math.
If the chain passes the wear test, clean it. Degreaser on a rag, wrap it around the chain, back-pedal for a minute. Then hit it with a brush on the rollers and between the plates. Rinse with soapy water, dry it thoroughly, and lube each roller with a quality bike lube. Not WD-40. I know you have a can. Put it down. WD-40 is a solvent, not a lubricant, and using it on a chain is like using gasoline as aftershave. It works for about five minutes and then everything goes wrong.
The derailleurs next. Shift through every gear while the bike is upside down or in a stand. Listen for hesitation, grinding, or clicking that wasn’t there last fall. If shifting feels sluggish or the chain skips between gears, your cables have probably stretched or corroded over the winter.
Cable stretch is the most common spring shifting problem and also the cheapest to fix. You can adjust barrel adjusters to take up minor stretch, no tools needed beyond your fingers. Turn the adjuster counterclockwise in quarter-turn increments until shifting clicks cleanly. If the cables are corroded, rusty inside the housing, you’ll feel crunchy resistance when you pull the brake or shift lever. At that point, new cables and housing are about fifteen bucks in parts and forty five to seventy five at a shop. It’s not a hard job but it’s fiddly, and if you’ve never done it, watch a Park Tool video first and then expect it to take three times longer than they say.
Brakes (The Thing Between You and a Tree)
I shouldn’t have to tell you that brakes are important. But every spring, someone rides in with brake pads worn down to the metal backing plate, and they tell me “I thought they felt a little soft.”
Soft. You thought they felt soft. They felt soft because the only thing stopping you was hope and aerodynamic drag.

Rim brakes: Look at the pads. There are wear indicator grooves or lines molded into the rubber. If those are gone, the pads are gone. Replace them. New pads cost about the same as a cup of good coffee. I like the SwissStop FlashPro pads for rim brakes, but any name brand with wear indicators will do. Some pads are cartridge style where you just slide a new rubber insert in, which is even cheaper and takes about thirty seconds per wheel.
While you’re there, check the rim braking surface. Run your finger along the side of the rim where the pad contacts it. If you feel a concave dip, a groove worn into the metal, your rim is getting thin. It’s not an emergency yet, but put it on your calendar. A worn rim can crack under braking force, which is the kind of failure mode that makes for dramatic stories at the emergency room.
Disc brakes: Squeeze the lever. It should feel firm and stop well before the handlebar. If the lever pulls all the way to the bar, you’ve got air in the hydraulic line or the pads are shot. Either way, don’t ride it until it’s fixed. Hydraulic brake bleeds are a shop job for most people, but pad replacement is something you can do at home in ten minutes with a five-millimeter allen key and new pads that cost about as much as a fast food meal.
Check the rotors for scoring, deep grooves that look like someone dragged a fork across them. Light scoring is normal. Deep grooves mean the rotor is worn and needs replacing. Also make sure the rotor isn’t bent. Spin the wheel and watch the rotor pass through the caliper. If it wobbles side to side and rubs with every revolution, it’s either bent or contaminated. Bent rotors can sometimes be trued with a rotor straightening tool, which is literally just a specialized wrench that costs less than a sandwich.
Tires (The Only Thing Between You and the Road)
Tires are the cheapest safety upgrade you can make, and people ride on garbage rubber all the time because they don’t know what to look for.
Here’s your inspection. Look at the tread, if your tires even have tread. Road tires wear smooth in the center, which is normal. But if you can see the casing showing through, the fabric mesh underneath the rubber, those tires are done. The rubber is the thing that grips the road. Without it, you’re riding on fabric, which grips the road like a wet sock on a tile floor.
Check the sidewalls. Squeeze them. If they feel brittle or you see tiny cracks running in every direction, the rubber has dry rotted. This happens faster if the bike was stored near a heater, in direct sunlight, or in a garage that gets really hot and really cold. Dry rotted tires can blow out without warning. I’ve seen it happen at fifteen miles an hour and the sound alone nearly gave the rider a heart attack.
Inflate to the recommended pressure. It’s printed on the sidewall of every tire. Road tires usually run somewhere between eighty and one hundred thirty psi. Mountain bike tires are more like twenty to forty. Hybrid tires fall somewhere in between. If you don’t own a floor pump, get one. A hand pump will get you home in an emergency, but a floor pump is how you maintain proper pressure. A decent floor pump with a pressure gauge costs around twenty five to forty bucks and will last you a decade.
The Stuff People Forget (And Then Regret)
Headset, bottom bracket, and spoke tension. These are the three things that almost nobody checks during a spring tune-up, and they’re also the three things that make the most expensive repair bills when they fail.
The headset is the bearing assembly that lets your fork turn. To test it, stand over the bike, squeeze the front brake, and rock the bike forward and backward. If you feel a clunk or a knock, the headset is loose. A loose headset means the bearings are rattling around in there, which means they’re destroying themselves with every bump. Tighten the preload, there’s usually a bolt on top of the stem, but don’t overdo it. You want it tight enough that the clunk disappears but loose enough that the bars still turn smoothly. If you tighten it and the bars feel like they’re turning through wet cement, you’ve gone too far.
The bottom bracket is the bearing assembly at the bottom of the frame where the cranks spin. To test it, grab one crank arm and try to wiggle it side to side. If there’s play, if it moves at all, the bottom bracket is loose or worn. A loose bottom bracket makes creaking noises that will drive you insane on a long ride and eventually damage the frame’s bottom bracket shell, which is a much more expensive repair.
Spoke tension is the thing that keeps your wheels round. Pluck each spoke like a guitar string. They should all sound roughly the same pitch. If some are noticeably looser or tighter than others, or if some are completely slack and floppy, the wheel needs truing. A badly tensioned wheel is a wheel that’s going to develop a flat spot or a buckle at the worst possible moment.
The Lazy Person’s Spring Tune-Up
I know. You just want to ride. You don’t want to spend your Saturday afternoon being a mechanic. Fair enough. Here’s the minimum viable tune-up that takes about twenty minutes and catches eighty percent of problems.
- Pump the tires to the right pressure.
- Squeeze both brake levers. They should stop well before the handlebar.
- Shift through every gear. Everything should click cleanly.
- Wipe down the chain and put a drop of lube on each roller.
- Bounce the bike on the ground. Listen for rattles or clunks.
- Ride around the block. Brake hard once. Shift through all the gears again.
If all of that works without drama, you’re probably fine. If anything feels wrong, sounds wrong, or acts wrong, now you know what to look at.
When to Just Take It to the Shop
There are things you should fix yourself and things you should hand to a professional with a guilty look on your face.
Fix it yourself: Chain replacement, brake pad replacement, tire changes, cable adjustments, basic cleaning and lubing, saddle and handlebar adjustments.
Take it to the shop: Wheel truing (unless you’ve done it before and have a truing stand), hydraulic brake bleeds, bottom bracket replacement, headset overhaul, anything involving a cracked frame, and anything where you’ve taken something apart and now have leftover parts.
A basic spring tune-up at a shop runs about sixty to ninety dollars depending on your area. That’s roughly the cost of a nice dinner. If you’re not comfortable doing the work yourself, that sixty bucks is the cheapest insurance you’ll ever buy against an expensive breakdown on the road.
And honestly, there’s no shame in taking it in. I’ve been doing this for over two decades and I still take my personal bikes to colleagues when I’m feeling lazy or when something is annoying enough that I’d rather pay someone else to be annoyed by it.
Your bike sat around all winter. It deserves a little love before you throw a leg over and head out. Take the time. Check the things. Lube the things. Tighten the things. Then go ride and stop worrying about it. And if you’re thinking about starting to bike commute this spring, now is the perfect time to get your bike dialed in before the season really kicks off.
Leave a Reply